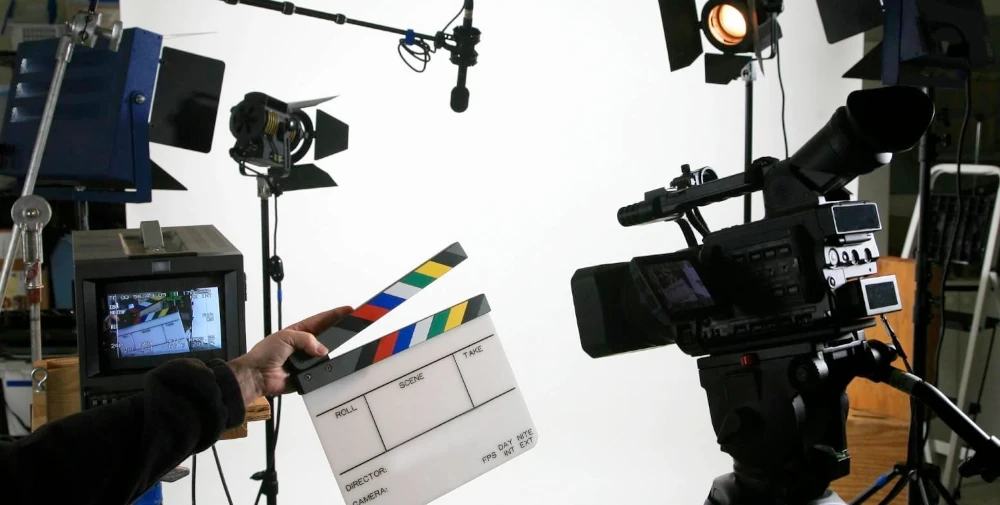
Video editing is where a filmmaker truly tells their story. From raw clips to a final masterpiece, editing controls emotion, pacing, and structure. Whether you’re working on a short film, YouTube vlog, or documentary, learning how to edit videos for filmmaking is essential to bring your creative vision to life.
This complete guide walks you through the 10 essential steps of the filmmaking editing process — from organizing footage to final export. Each step includes detailed explanations and actionable points so even beginners can follow along confidently.
10 Essential Steps for Editing Videos in Filmmaking
These steps are designed to help beginners understand the complete post-production workflow. Follow them in order for a smooth and effective editing experience.
1. Clarify Your Editing Goals
Before opening your editing software, ask yourself: What’s the purpose of your edit? Every cut you make should serve the story. Clarity at this stage keeps your editing focused and consistent with your vision.
Key goals to define:
-
What emotion do you want each scene to evoke?
-
What story arc are you trying to build?
-
Who is your target audience?
-
What tone (funny, serious, dramatic) should the final video convey?
2. Choose the Right Video Editing Software
Not every editing tool fits every project. Your choice should depend on your budget, skill level, and project type. Free tools can do a lot, but professional options offer more flexibility and precision.
Popular editing tools:
-
For beginners (Free): iMovie, DaVinci Resolve (Free), Clipchamp
-
For pros (Paid): Adobe Premiere Pro, Final Cut Pro, Avid Media Composer
-
For mobile editing: CapCut, InShot, Adobe Premiere Rush
Tip: Start free, learn the workflow, and upgrade as your skills grow.
3. Organize Your Footage Properly
Well-organized footage saves hours during editing. Messy files = messy edits. Start by keeping all your files in structured folders and using naming conventions that make sense.
Organizing best practices:
-
Rename files clearly (e.g., Scene1_Take2, Broll_Street, Interview_Ali)
-
Create folders for: Video, Audio, Music, Graphics, B-Roll
-
Use project bins or media folders inside the editing software
-
Backup files on an external hard drive or cloud
Tip: Organization speeds up editing and avoids technical errors.
4. Build a Rough Cut
The rough cut is your first complete version of the film. This step is not about perfection, it’s about laying the foundation of your narrative.
What to do in the rough cut:
-
Arrange clips according to the script or storyboard
-
Cut out unusable or irrelevant footage
-
Add placeholders for B-roll and transitions
-
Focus on pacing and narrative clarity
Tip: Don’t waste time making it pretty here—focus on the structure.
5. Refine with the Fine Cut
Now it’s time to polish your rough edit. This is where your video starts to feel like a real film. Transitions, pacing, and visuals should now flow smoothly.
Tasks in the fine cut:
-
Tighten scene transitions for smooth flow
-
Add B-roll and cutaways to cover jump cuts
-
Match visuals with music and sound cues
-
Watch multiple times to catch inconsistencies
Tip: View your video once with sound and once muted to catch issues.
6. Add Voiceovers, Sound Effects, and Music
Sound is half the experience in film. The right audio elevates your visuals and connects your audience emotionally. Take time to perfect it.
Steps to improve audio:
-
Choose royalty-free music that fits the mood (Artlist, Epidemic Sound)
-
Add Foley effects (footsteps, door creaks, ambient sounds)
-
Record voiceovers using a clean mic in a quiet room
-
Mix audio levels so dialogue, music, and SFX are balanced
Tip: Keep background music lower than dialogue for clarity.
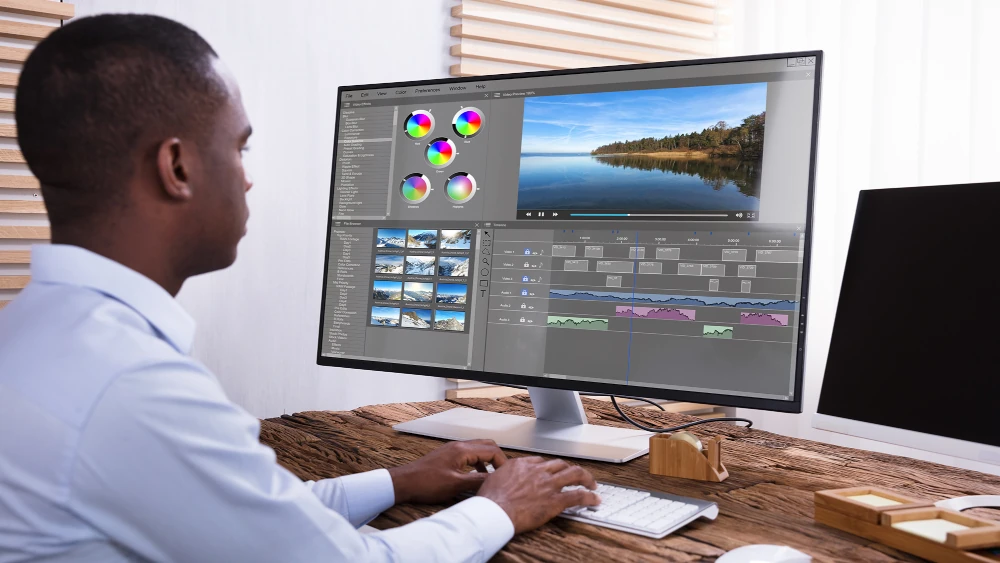
7. Apply Color Correction and Grading
Color grading sets the visual mood of your film. First, you correct technical issues (like exposure or white balance). Then, you stylize it with creative grading.
Color grading steps:
-
Match exposure and white balance across all clips
-
Adjust saturation and contrast for consistency
-
Use LUTs (Look-Up Tables) for a cinematic look
-
Tools like DaVinci Resolve are best for grading
Tip: Don’t overdo it—aim for visual consistency and mood.
8. Insert Titles, Graphics, and Subtitles
Text elements add clarity, branding, and accessibility. Keep them clean and readable—especially on mobile devices.
Include these text elements:
-
Opening titles with film name or creator credit
-
Lower-thirds for names, places, or context
-
End credits for cast, crew, or music attribution
-
Subtitles for accessibility and wider reach
Tip: Use high-contrast text and simple fonts for readability.
9. Export the Final Cut
Once everything looks and sounds perfect, it’s time to export. Export settings vary depending on your platform, so be strategic.
Export tips:
-
Format: MP4 (H.264) for web, ProRes for broadcast or archiving
-
Resolution: 1080p for most uses, 4K for premium platforms
-
Frame rate: Match your original footage (24fps, 30fps, etc.)
-
Always review the final export for glitches or sync issues
Tip: Export a short 10-second test before final rendering.
10. Distribute and Collect Feedback
You’ve edited your film—now show it to the world. Upload it strategically, promote it, and learn from feedback.
Distribution strategies:
-
Upload to YouTube, Vimeo, or submit to festivals via FilmFreeway
-
Optimize video title, description, tags, and thumbnail
-
Create a teaser or short trailer for social media
-
Ask for honest feedback from fellow creators
Tip: Accept critique—it helps you improve for your next project.
Final Thoughts: Start Telling Stories with Your Edits
Learning to edit videos for filmmaking is a rewarding process. With practice, you’ll turn raw clips into emotional, visual stories that connect with audiences. Start with the basics, follow this workflow, and keep refining your technique. Your next great film is just one edit away.
FAQs
1. What is the difference between film editing and video editing?
Film editing focuses on storytelling for movies or shows, while video editing includes all types of visual content like ads and vlogs.
2. How long does it take to edit a short film?
Editing a 5–10 minute film can take 10 to 30 hours, depending on complexity and preparation.
3. Can I edit films without a powerful computer?
Yes, but for 4K or advanced effects, you’ll need a faster processor, more RAM, and a dedicated GPU.
4. Which free video editing software is best for filmmakers?
DaVinci Resolve (Free) is the best choice for professional-grade editing, color, and sound tools.
5. Can I edit cinematic videos on my phone?
Yes, apps like CapCut, LumaFusion, and Adobe Premiere Rush allow full mobile editing with great results.